
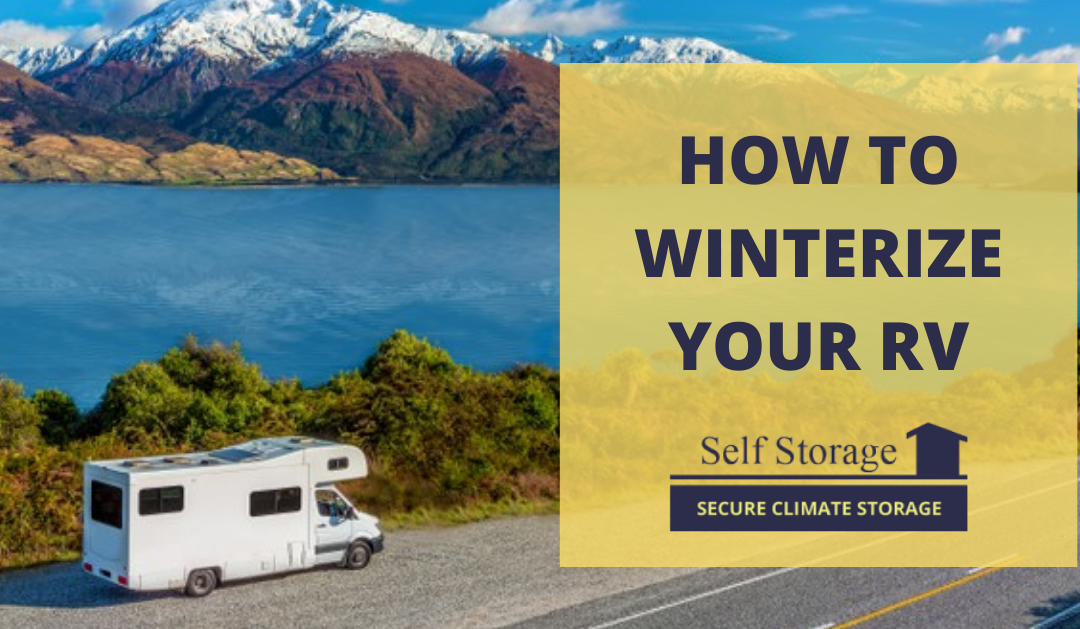
If you’re like most RVers, you don’t use your go on many trips during the wintertime. For most, it’s time to tuck her in for the coldest months of the year. To ensure that she starts and works great come next spring, here are some necessary steps you’ll need to take to winterize your RV.
Most people have access to three different methods that they can use for winterizing their rig. These include doing it themselves, hiring a rig service center to do the job, or using an RV dealer. While the extent of the winterizing service will highly depend on the storage environment of your RV, most winterizing services will cost about $75 to $200. Location availability may vary.
Decide Where You’ll Be Storing Your RV
Before you attempt to winterize your RV, you’ll need to determine how it will be stored during the cold winter months. Some choose to store their RVs outside in their driveway or in a storage lot. Others may store their RV inside a heated garage or at an indoor storage facility. You’ll need to identify how you’re going to store your RV so that you know the extent of your winterizing efforts. It takes less time and money to winterize an RV that is staying in a heated garage than one that is staying outdoors.
This is also dependent on where you’re located. For example, it would take more effort to winterize an RV in upstate New York than it would at our main location in Savannah, Georgia. Regardless, it’s important to do the research necessary to winterize your vehicle based on your location.
Start With Your Plumbing System
Your RV has water lines and piping that run throughout it. When the temperatures dip down below the point of freezing, the existing water in your pipes can freeze. When this happens, it can put too much stress on the pipe. This can result in cracked and broken pipes. To prevent this from happening, you’ll want to use RV antifreeze.
Most people get confused when it comes to antifreeze. This is a substance that is immune to freezing, even in the coldest of conditions. To protect your pipes, you’ll want to pour RV antifreeze down them so that any remaining areas of water adhere to the antifreeze. This way, any remaining water in your system doesn’t freeze. RV antifreeze is a specifically designed substance that is non-toxic.
Winterizing The Interior
Once you get your plumbing system prepared, it’s time to think about the interior of your RV. Wintertime is the perfect time of year for unwanted critters, like mice, to sneak into the inside of your RV. Just like the rest of us, they want to stay warm and away from the immense cold outside. To prevent this from happening, it’s a good idea to seal all of the plugs and seams on the interior of your RV. Pay close attention to vent caps and pipe vent covers. Be sure to clear these before taking your RV on your first trip in the spring.
Go through your RV and remove clothes, food, and any other valuable items that are inside of it. When it comes to your refrigerator and cabinets, leave everything open. This will help to prevent unwanted mold and unpleasant odors.
Getting your RV prepared for winter storage can be a bit time-consuming; however, it will pay off greatly in the spring when you can get rolling quickly. Remember that proper winter preparation leads to fewer problems with your RV.
Contact Secure Climate Storage
No matter how you choose to store your RV or camper for the winter, Secure Climate provides the safest and most parking units in the Savannah area. We feature a wide range of sizes, prices, and types of units. Call today for more information and to hear more about our limited specials! We’ll help you winterize your RV and store it away for the winter.